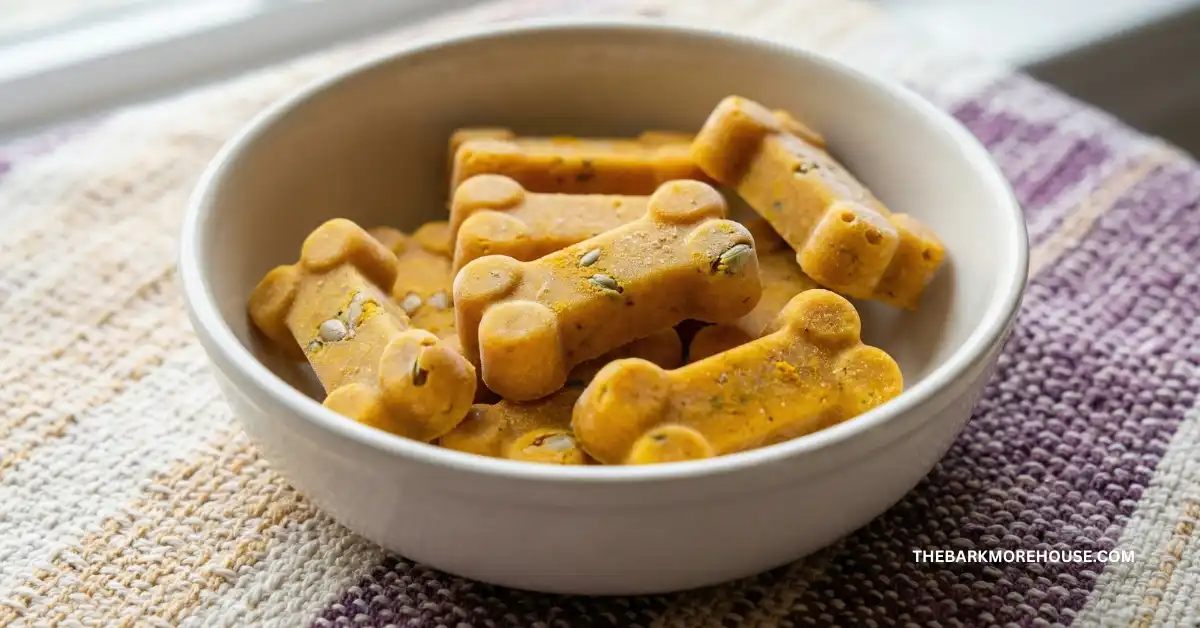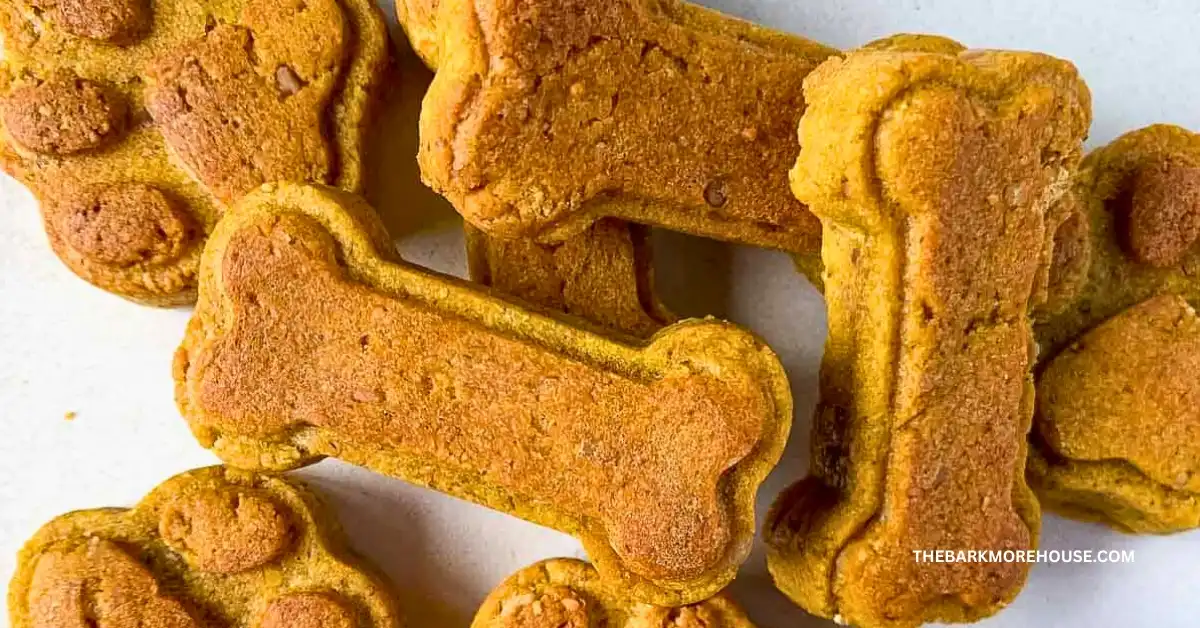
I’m so happy to share this Peanut Butter Pumpkin Bones recipe because it is a simple, homemade way to treat your dog with ingredients you can trust. These crunchy treats use whole wheat flour, pumpkin, eggs, and peanut butter that is safe for dogs when it is xylitol free. I love making them because they feel just like baking cookies, but with my dog in mind. They are baked until firm and crunchy, with no strange additives or mystery ingredients. This is a practical recipe that fits easily into a busy day and still feels special.
The first time I made these treats, my dog stayed close to the kitchen the whole time, sniffing the air and waiting patiently. I liked knowing exactly what was going into each bone, and I could keep everything simple and safe. When they came out of the oven and cooled, my dog was very excited to try one.
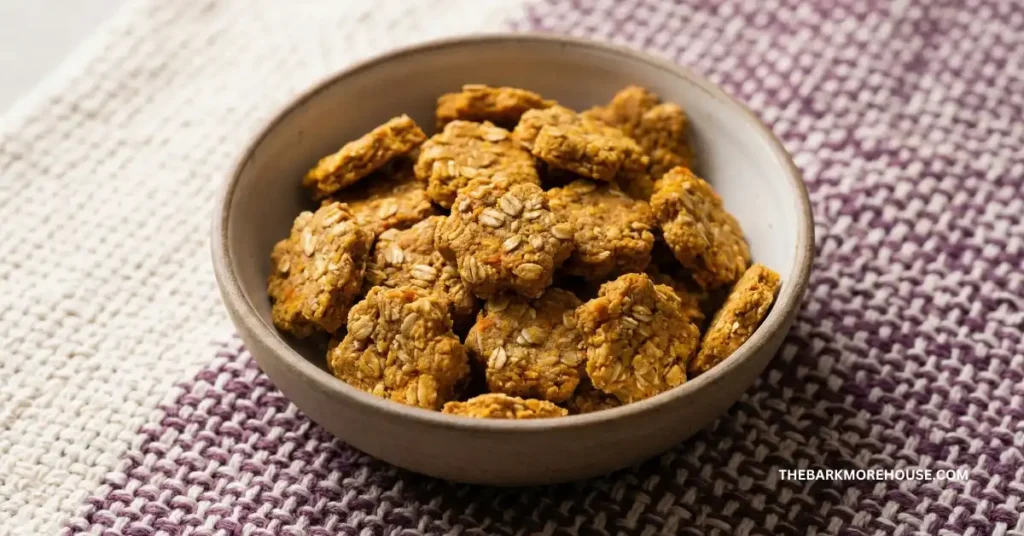
What makes this recipe special is the mix of peanut butter and pumpkin. The smell is warm and cozy, and the texture turns nice and crunchy after baking. Dogs seem to love the flavor, and the treats hold their shape well, which makes them easy to store and serve.
Some key benefits:
- Simple pantry ingredients
- No xylitol, onion, or garlic
- Easy to bake and store
- Crunchy texture many dogs enjoy
Every dog is different, so please talk to your vet about what is safe and appropriate for your dog, especially if your dog has allergies or health concerns.
How to Make Peanut Butter Pumpkin Bones
- Gather all ingredients and preheat the oven.
- Mix everything together to form a stiff dough.
- Work the dough with your hands until it holds together.
- Roll the dough out evenly.
- Cut the dough into small bone shapes or simple pieces.
- Place the pieces on a baking sheet.
- Bake until crunchy and golden.
- Let the treats cool fully before serving.
Ingredients
- 2 1/2 cups whole wheat flour
- 2 large eggs
- 1/2 cup canned pumpkin (plain pumpkin puree, not pumpkin pie filling, no added sugar)
- 2 tablespoons peanut butter (xylitol free, xylitol is dangerous for dogs)
- 1/2 teaspoon salt (use only this small amount)
- 1/2 teaspoon ground cinnamon
- 1 teaspoon water, or more if necessary (optional, add only if needed)
Directions
- Preheat your oven to 350 degrees F and prepare a baking sheet.
- In a large bowl, add the flour, eggs, pumpkin, peanut butter, salt, and cinnamon. Stir until everything starts to come together.
- Transfer the mixture to a clean work surface and use your hands to bring it into a dough. It should feel dry and stiff, not sticky.
- If the dough feels too crumbly to hold together, add water one teaspoon at a time until it becomes workable. Do not add too much water.
- Roll the dough out to about 1/2 inch thick so the treats bake evenly.
- Cut the dough into about 1/2 inch pieces or use bone shaped cookie cutters if you like.
- Place the pieces on the baking sheet and bake until golden brown and crunchy, about 40 minutes.
- Remove from the oven and let the treats cool completely before giving them to your dog.
Process Details
- The dough should feel firm and slightly dry. This helps the treats bake up crunchy instead of soft.
- Thicker pieces may need a little longer in the oven, while thinner pieces may crisp faster.
- Using cookie cutters is optional. Simple squares or strips work just as well.
- A firm texture after baking is a good sign that the treats are done.
- Always let the treats cool fully so your dog does not burn their mouth.

Tips for Success
- Always check peanut butter labels to be sure there is no xylitol.
- Use plain pumpkin puree only, not pumpkin pie filling with sugar or spices.
- Keep treat sizes small, especially for small dogs.
- These are treats, not full meals, so offer them in moderation.
- If your dog is new to cinnamon or wheat, offer a small piece first and watch for any reactions.
- If you want a slightly softer treat, roll the dough a bit thicker and check them a little earlier.
Serving Ideas
- Use small pieces as training rewards.
- Offer one treat after walks or grooming time.
- Break larger treats into smaller bits for tiny dogs.
- Save them for special moments like birthdays or Gotcha Days.
- Adjust how many you give based on your dog’s size and daily food intake.
Storage & Freezing
- Store cooled treats in an airtight container at room temperature for several days.
- For longer storage, keep them in the fridge to help them stay fresh.
- Freeze treats in a freezer safe container for longer keeping, then thaw before serving.
- Crunchy treats usually last longer than soft ones, but always check before serving.
- Throw away any treats that smell off, look moldy, or feel sticky or strange.
These Peanut Butter Pumpkin Bones are a fun and easy way to show your dog some love with homemade treats. Baking them yourself lets you control every ingredient and keep things simple and safe.
- Change the shapes or sizes to match your dog.
- Bake a little longer for extra crunch if your dog likes very firm treats.
- Share with dog friends if their vets say it is okay.
- Watch your dog the first time they try them to be sure they agree with them.
Making treats like this is a small act of care that helps strengthen the bond between you and your dog, one crunchy bite at a time.